Let me drop some knowledge on you right off the bat—Raspberry Pi remote control SSH is like the holy grail of remote computing for makers, developers, and tech enthusiasts alike. Whether you're tinkering with a home automation project or managing servers from afar, SSH (Secure Shell) is your golden ticket to accessing your Raspberry Pi remotely. But here's the thing: it’s not just about plugging in some commands and hoping for the best. There’s an art to mastering SSH for remote control, and we’re about to break it down step by step.
Now, imagine this: You’re chilling at a café miles away from your home, sipping on your favorite latte, and suddenly you remember you left a critical script running on your Raspberry Pi. Panic sets in, but wait—what if you could log in, check the status, and even stop the script without lifting a finger near your device? That’s the power of SSH, and it’s way easier than you think. Stick around, and we’ll make you a pro in no time.
Before we dive deep, let’s get one thing straight: SSH isn’t just a buzzword. It’s a secure, encrypted way to access and control your Raspberry Pi remotely. Think of it as a secret handshake that lets you communicate with your Pi over the internet without compromising its security. Sound intriguing? Let’s roll.
Read also:Get To Know Simi Khadra Dj And Influencer
What is Raspberry Pi Remote Control SSH?
Alright, let’s break it down. Raspberry Pi remote control SSH, or Secure Shell, is a protocol that allows you to connect to your Raspberry Pi from another computer over the internet. It’s like giving your Pi a remote control, but instead of changing channels, you’re running commands, transferring files, or even managing applications. The best part? It’s secure as heck, thanks to encryption that keeps your data safe from prying eyes.
Here’s the deal: SSH isn’t just for geeks in hoodies. It’s a practical tool for anyone who wants to manage their Raspberry Pi projects without being physically tied to the device. Whether you’re debugging code, setting up a media center, or running a web server, SSH makes life so much easier.
But why stop there? Let’s talk numbers. Did you know that over 70% of Raspberry Pi users rely on SSH for remote access? That’s because it’s reliable, efficient, and, most importantly, secure. So, if you’re not using SSH yet, you’re missing out on a game-changer.
Why Use SSH for Raspberry Pi Remote Control?
Let’s face it: connecting to your Raspberry Pi remotely is a necessity, not a luxury. But why choose SSH over other methods? Here’s the lowdown:
- Security: SSH encrypts all communication between your device and the Raspberry Pi, keeping your data safe from hackers.
- Efficiency: With SSH, you can run commands, transfer files, and manage processes with lightning speed.
- Flexibility: Whether you’re on a Windows PC, Mac, or Linux machine, SSH works seamlessly across platforms.
- Cost-Effective: Unlike proprietary software, SSH is free and open-source, saving you money without compromising functionality.
And here’s a fun fact: SSH isn’t just about remote access. It’s also a powerful tool for automating tasks, managing multiple devices, and even setting up secure tunnels for data transfer. So, whether you’re a hobbyist or a pro, SSH has something for everyone.
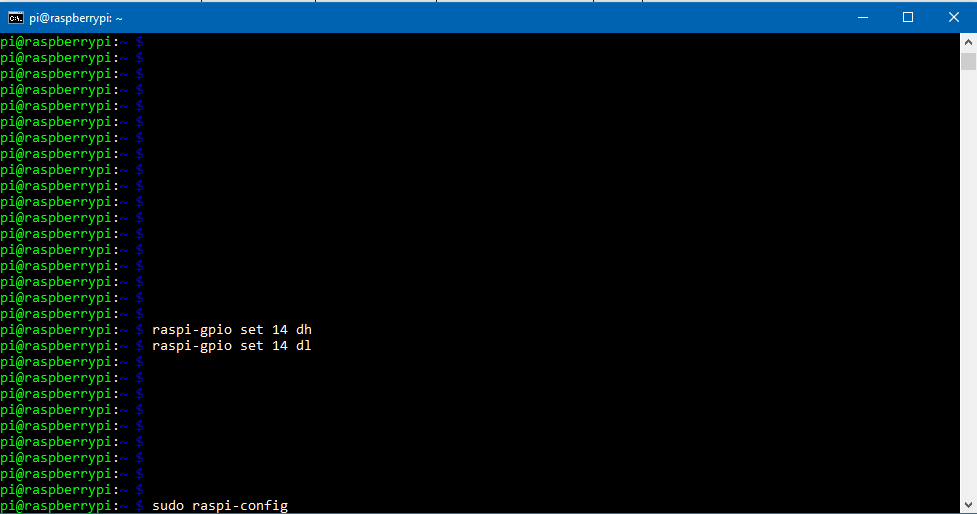
Setting Up SSH on Your Raspberry Pi
Ready to get your hands dirty? Setting up SSH on your Raspberry Pi is easier than you think. Follow these steps, and you’ll be up and running in no time:
Read also:Belle Delphine Cosplay Controversy And Career
Step 1: Enable SSH on Your Raspberry Pi
First things first, you need to enable SSH on your Raspberry Pi. Here’s how:
- Boot up your Raspberry Pi and log in to the desktop environment.
- Open the Raspberry Pi Configuration tool from the Preferences menu.
- Head to the Interfaces tab and select "Enabled" next to SSH.
- Click OK to save your changes.
Voilà! SSH is now enabled on your Raspberry Pi. But don’t stop there—let’s make sure everything is secure.
Step 2: Secure Your SSH Connection
Security is key when it comes to remote access. Here’s how you can beef up your SSH setup:
- Change the Default Password: Never use the default "raspberry" password. Set a strong, unique password for your Pi.
- Disable Root Login: Root access is powerful, but it’s also a security risk. Disable root login in your SSH configuration.
- Use Key-Based Authentication: Instead of passwords, use SSH keys for a more secure login method.
Trust me, taking these extra steps will save you a headache down the road. Now, let’s move on to the fun part: connecting to your Pi remotely.
Connecting to Your Raspberry Pi via SSH
Alright, you’ve set up SSH on your Raspberry Pi. Now it’s time to connect to it from another device. Here’s how:
For Windows Users
Windows users have a couple of options for SSH clients. The most popular one is PuTTY, but you can also use the built-in SSH client in Windows 10. Here’s how to use PuTTY:
- Download and install PuTTY from the official website.
- Open PuTTY and enter your Raspberry Pi’s IP address in the Host Name field.
- Set the port to 22 (the default SSH port).
- Click Open and log in with your Raspberry Pi credentials.
Easy peasy, right? Now let’s see how Mac and Linux users can connect.
For Mac and Linux Users
Mac and Linux users have it even easier. You can use the built-in terminal to connect via SSH:
- Open the Terminal application.
- Type the following command:
ssh pi@your_pi_ip_address. - Enter your Raspberry Pi password when prompted.
Boom! You’re connected. Now you can start running commands and managing your Pi like a pro.
Troubleshooting Common SSH Issues
Let’s be real: sometimes things don’t go as planned. Here are some common SSH issues and how to fix them:
- Connection Refused: Double-check your Raspberry Pi’s IP address and make sure SSH is enabled.
- Authentication Failed: Verify your username and password. If you’re using SSH keys, ensure they’re correctly configured.
- Timeout Errors: Check your internet connection and firewall settings. Make sure your router isn’t blocking the SSH port.
If you’re still stuck, don’t sweat it. There are tons of resources online to help you troubleshoot SSH issues. Just remember: Google is your friend.
Advanced SSH Techniques
Once you’ve got the basics down, it’s time to level up your SSH game. Here are some advanced techniques to try:
SSH Tunneling
SSH tunneling is a powerful feature that allows you to securely transfer data between your local machine and your Raspberry Pi. Here’s how it works:
Imagine you want to access a web server running on your Raspberry Pi from your laptop. By setting up an SSH tunnel, you can forward traffic from your laptop to the Pi’s web server, all while keeping the connection encrypted. Cool, right?
Automating SSH Connections
Tired of typing in your credentials every time you connect? Automate the process with SSH keys. Here’s how:
- Generate an SSH key pair on your local machine using the
ssh-keygencommand. - Copy the public key to your Raspberry Pi using the
ssh-copy-idcommand. - Test the connection by logging in without entering a password.
Now you can connect to your Pi with a single command. How’s that for convenience?
Real-World Applications of Raspberry Pi Remote Control SSH
So, how can you use Raspberry Pi remote control SSH in real life? Here are a few ideas:
- Home Automation: Use SSH to manage smart home devices and scripts from anywhere.
- Web Hosting: Set up a web server on your Raspberry Pi and manage it remotely using SSH.
- Backup Server: Configure your Pi as a backup server and access it securely via SSH.
- Media Center: Control your Kodi or Plex setup from another device using SSH.
The possibilities are endless. Whether you’re a tech enthusiast or a professional developer, SSH opens up a world of opportunities for Raspberry Pi projects.
Staying Secure While Using SSH
Security should always be a top priority when using SSH. Here are some best practices to keep your Raspberry Pi safe:
- Update Regularly: Keep your Raspberry Pi’s operating system and SSH software up to date.
- Use Strong Passwords: Avoid using simple or common passwords. Use a password manager if needed.
- Limit Access: Restrict SSH access to trusted IP addresses or networks.
- Monitor Logs: Keep an eye on your SSH logs for suspicious activity.
Remember, security isn’t a one-time thing—it’s an ongoing process. Stay vigilant, and you’ll keep your Raspberry Pi safe from harm.
Conclusion: Take Control of Your Raspberry Pi with SSH
There you have it—the ultimate guide to Raspberry Pi remote control SSH. From setting up SSH to troubleshooting common issues and exploring advanced techniques, you’re now armed with the knowledge to take your Raspberry Pi projects to the next level.
So, what are you waiting for? Dive in, experiment, and don’t be afraid to make mistakes. After all, that’s how you learn. And hey, if you found this article helpful, drop a comment or share it with your fellow Pi enthusiasts. Together, let’s make the Raspberry Pi community stronger and more connected.
Table of Contents
Mastering Raspberry Pi Remote Control SSH: The Ultimate Guide
What is Raspberry Pi Remote Control SSH?
Why Use SSH for Raspberry Pi Remote Control?
Setting Up SSH on Your Raspberry Pi
Step 1: Enable SSH on Your Raspberry Pi
Step 2: Secure Your SSH Connection
Connecting to Your Raspberry Pi via SSH
Troubleshooting Common SSH Issues
Real-World Applications of Raspberry Pi Remote Control SSH